October 01, 2026
A river panel looks simple on paper: a band of blue, a bank of green, a bend. Then you open a box of tesserae and realise the water is being decided by materials, not by drawing. Glass, stone and ceramic each behave differently under the nippers, and each reads differently once grouted and on a wall. The choice shapes how the current seems to move, how the panel survives a windowsill or a garden wall, and how much of your first month you spend cutting versus placing.
What a River Demands From a Tessera
Water in mosaic is built from lines. That means your tesserae need to do two things well: follow a curve, and hold a rhythm. A tessera that is too large forces you into straight runs. One that crumbles on the second cut forces you into swearing.
Three qualities matter most. First, size and cuttability: river work rewards pieces roughly 8–15 mm across, small enough to bend around a meander without a fight. Second, thickness consistency, because a panel where pieces sit at different heights catches light unevenly and reads as noise rather than flow. Third, surface: glossy tesserae throw back highlights and suggest moving water; matte surfaces read as deep, slow current or as the riverbed itself.
Keep a scrap of your intended grout colour nearby while you work. Dark grout turns a mosaic into a drawing with outlines. Pale grout dissolves the edges and makes the whole thing softer and calmer. That single decision changes a river more than most beginners expect.
Glass: Bright, Fluid, and Forgiving
Glass is the natural first stop for water. It reflects, it holds colour, and it cuts cleanly in ways that flatter a beginner.
Vitreous glass tiles
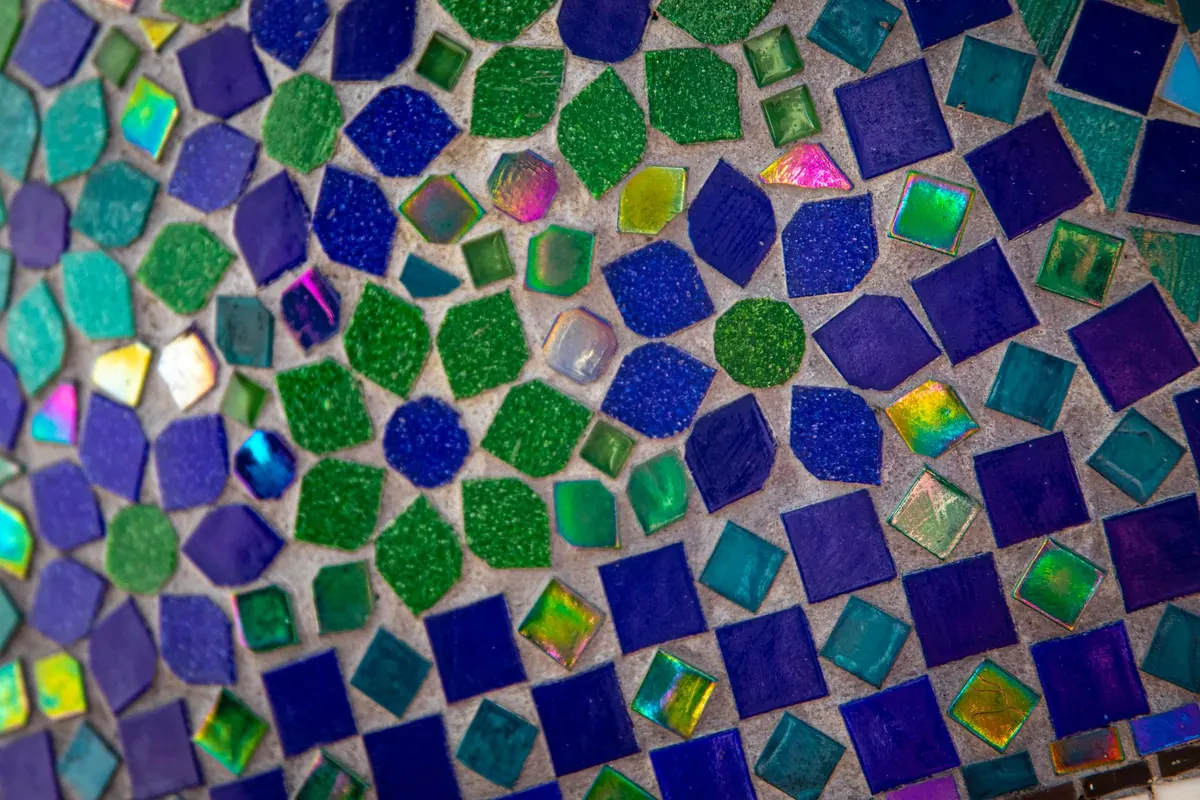
These are the small, uniform squares sold in mosaic supply shops, usually around 20 mm and 4 mm thick, with a slightly ridged or frosted back. They are pressed, so the colour is consistent from tile to tile, and they snap into rectangles and rough triangles with a pair of wheeled nippers. For a first river panel, this is the least frustrating material available. The trade-off is personality: the range is broad but even, so a current made entirely of one blue looks a little flat. Work in three or four close tones and the water starts to breathe.
Stained glass and smalti
Stained glass sheets give you streaked, semi-transparent colour that vitreous tiles cannot match. Score and break it for larger shapes, or use nippers for small ones; it fractures with curved edges, which is either charming or annoying depending on the day. Smalti — the thick, hand-poured glass made for mosaic — is the classic material for andamento, the flowing line work that gives rivers their movement. It is also the most expensive of the three families and cuts with a hammer and hardie rather than nippers, which is a skill worth learning later rather than on your first panel.
Stone: Weight, Grain and a Slower Water
Stone gives a river gravity. Slate splits into thin, flat pieces and comes in greys, greens and rusts that suit riverbeds and banks. Marble and limestone bring pale, veined tones for foam and shallows. Sandstone is softer and more porous; it cuts easily but wears faster under a finger or a broom.
Two things to know before committing. Stone is heavier, so a large panel needs a substrate and adhesive rated for it. And natural stone is sensitive to acidic cleaners — marble, limestone and travertine will etch if you wipe them with vinegar-based products. Use a pH-neutral cleaner and a soft cloth, and if you are sealing a stone mosaic, follow the sealant maker's instructions rather than a rule you heard somewhere.
Pebbles and rounded stone
Rounded pebbles look exactly like river stones because they are river stones, which makes them tempting. They also sit proud of the surface, are awkward to bed in firmly, and create wide, shadowy joints. Use them sparingly — a few at the water's edge, say — and key their smooth backs with a scratch or use an adhesive specified for non-porous, heavy pieces. Check any adhesive or grout manufacturer's exterior rating before putting a stone panel outside, and be realistic about freeze-thaw if you live somewhere with hard winters.
Ceramic: The Middle Road
Ceramic sits between the other two: cheaper than smalti, more colourful than most stone, and widely available as offcuts from tile shops. Porcelain floor tile is dense and hard; earthenware and glazed wall tile are softer and easier to nip but more brittle, and unglazed terracotta absorbs water, which is a problem outdoors in freezing weather.
Glazed ceramic gives you clean, saturated colour, though the glaze can chip at the cut edge and show a pale body underneath — fine in a riverbed, distracting in a sky. Thickness is the real drawback. Floor tiles often run 8–10 mm and resist nippers, so you end up cutting with a wet saw and losing the loose, hand-made feel that makes a river look alive. If you go ceramic, choose a thin-bodied tile or a purpose-made ceramic mosaic sheet and keep the pieces small.
Matching the Material to the Panel
- First panel, interior, on a board or mirror frame: vitreous glass. Predictable cutting, good colour range, forgiving of small gaps.
- Water that should look deep and fast: stained glass or smalti, glossy and slightly irregular, set in flowing lines.
- Riverbed, bank, gravel bar: slate and mixed stone, deliberately varied in size and matte in finish.
- Outdoors or in a bathroom: frost-rated, low-absorption materials and adhesives and grouts specified by their maker for that use.
- Budget-conscious large panel: vitreous glass for the water, ceramic offcuts for the banks, a handful of found pebbles for accents.
- Tight deadline: uniform tiles. Irregular stone and stained glass are slower to fit and slower to grout.
Mixing Materials Without Making Mud
Most good river panels use two or three materials rather than one. The trick is to give each a job. Let glass carry the water and highlights, stone carry the bed and the bank, and ceramic carry flat background colour where the eye should rest. Keep thicknesses within about a millimetre of each other, or build up lower pieces on a bed of extra adhesive so the surface stays level. And repeat each material at least three times across the panel; a single stray pebble in a field of glass reads as a mistake, while five read as a decision.
Your First Test Panel
Before you commit a whole design, make a small sample — roughly 15 by 15 cm — using the materials you are considering. It takes an afternoon and saves weeks.
- Draw a single curve, then set three rows of tesserae along it in each material, keeping the gaps consistent.
- Grout the sample with your intended grout colour and let it cure fully.
- Look at it from a metre away in daylight, not under a work lamp. Flow is judged at distance.
- Run a thumb over it. Sharp cut edges and uneven heights show up now, not after installation.
- Write the material names, adhesive and grout on the back. You will not remember in six months.
Choose the material that let you follow the curve most smoothly, then build the real panel with that as your base and the others as accents. The river will do the rest.
Photo: Magda Ehlers / Pexels