October 12, 2026
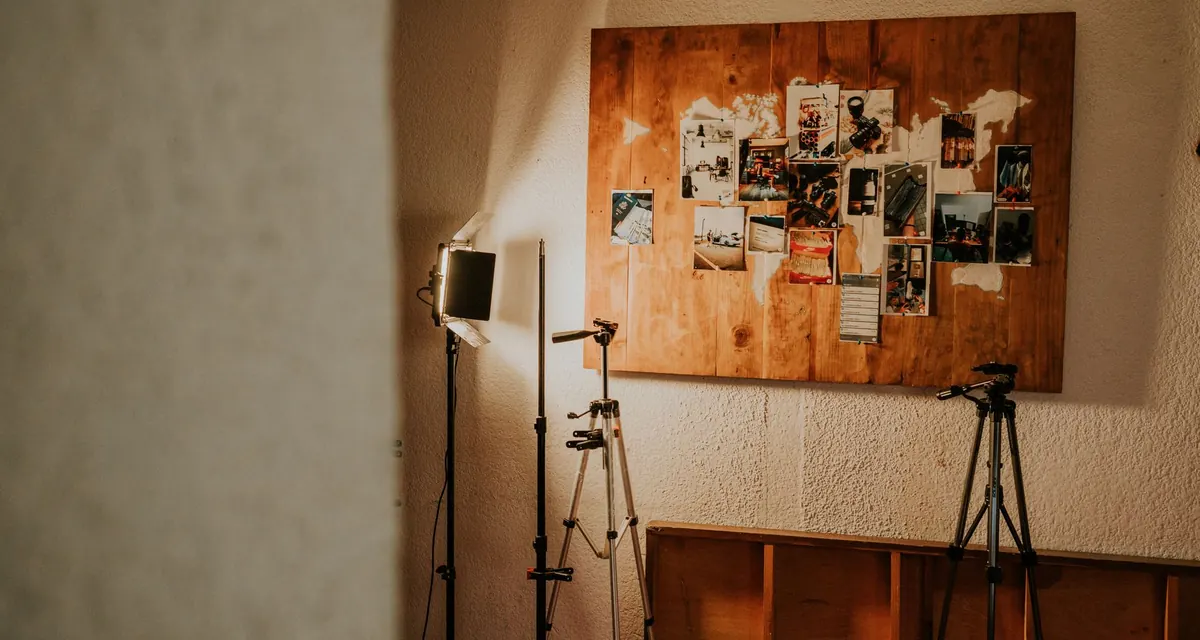
A mosaic studio doesn't need a spare room. It needs a corner where the table doesn't wobble, the air moves, and the mess stays where you put it. Serious work comes out of two metres of wall between a bookcase and a window far more often than you'd guess, and hobbyists stall out in double garages because nothing had a home and every session began with twenty minutes of tidying.
The difference is almost never space. It's the order you set things up in. Start with the surface, then the air, then the dust, then the tools — and leave the shopping for last, because half of what you need is already in your kitchen.
Start with the surface, not the supplies
A mosaic table takes hammering, water, and the occasional dropped handful of stone. It should be solid before it is beautiful. If you work seated, aim for a surface around 72–75 cm high so your forearms rest level; if you prefer to stand over larger panels, something closer to 90 cm will save your back. A sturdy secondhand desk, a retired kitchen table, or a flush door on two trestles all work. What matters is that it doesn't rock when you lean on it.
Cover the top with a sacrificial layer — a sheet of MDF, thick cardboard, or a cheap plastic cutting board — so adhesive drips and stray nipper bites don't become permanent. Then add light. One adjustable task lamp is worth more than three ceiling fixtures: keep it low and to the side so it rakes across the surface and reveals the height differences between tesserae. A bulb in the 5000–6500K range keeps colours honest, which matters when you're matching a dozen shades of grey.
Protect the floor, too. A rubber mat under the table catches chips, cushions your feet, and makes sweeping up glass far less nerve-racking.
Ventilation: the part beginners skip
Airflow is the one piece of setup that's genuinely hard to fix later. You need a cross-draught and an exit. Open a window on each side of the room if you can, and put a fan in one of them facing out, so it pulls air past you rather than blowing dust back into your face. A fan aimed into the room just relocates the problem.
Cutting and nipping
Position the cutting area as close to the window as possible, ideally right beside it. If the weather allows, do your nipping outside on a tray — the simplest dust control there is. When you must work indoors, a shallow tray with raised edges keeps shards in one place instead of letting them migrate across the desk.
Mixing adhesive and grout
Mixing cement-based products is the dustiest thing most home mosaicists do, and it's the moment to be strict. Mix outdoors or in a garage, wear a proper dust mask, and add powder to water rather than the other way round — it throws up far less dust. If you have asthma or another respiratory condition, speak to your doctor before committing to an indoor cutting space and take their advice over any general guide, including this one.
Dust control that actually works
The best dust strategy is to make less of it. Score and snap where you can, use nippers rather than a grinder, and save sanding for outdoors. Where dust is unavoidable, contain it before it settles: a plastic sheet under the work area, a damp cloth wiped across the surface at the end of every session, and a spray bottle to stop cement mixes drying into powder.
A few rules keep a small room manageable:
- Never dry-sweep. Wet a paper towel and wipe, or use a vacuum with a fine-particle filter.
- Clean tools and surfaces before you leave, not the next morning.
- Keep a dedicated lidded bin for glass and tile offcuts, and empty it often.
- Don't eat, drink or keep snacks on the work surface.
- Wash your hands before leaving the room, especially after grout or salvaged glass.
Salvaged material deserves a word of caution: some older glass and glazes can contain lead, so keep unknown pieces out of food areas, handle them with gloves, and wash up thoroughly afterwards.
Storage so you can find things
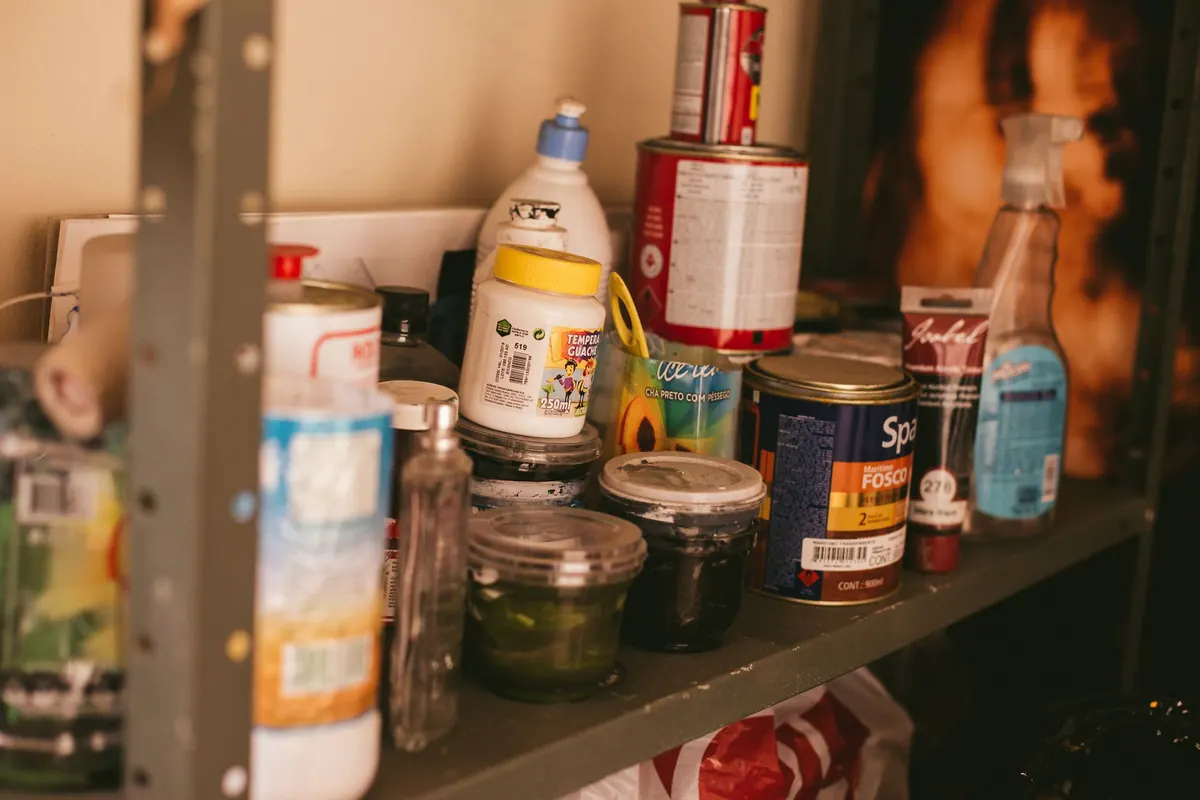
Mosaic storage is mostly about colour. Tesserae you can't see are tesserae you won't use, and a shoebox of mixed smalti is a small punishment. Clear containers sorted by hue change the way you work — you start reaching for the right shade instead of settling for the nearest one.
- Shallow trays and muffin tins for the colours currently in play.
- Clear jars or stackable boxes for the reserve, labelled by colour and material.
- A pegboard or strip of hooks for nippers, tweezers, spatulas and safety glasses.
- A sealed box for adhesives and grout, kept off the floor and marked with the date you opened it.
- One tool roll or caddy you can lift down and put away in a single movement.
Go vertical wherever possible: shelves above the table, hooks on the side of a cabinet, a small drawer unit on wheels that tucks underneath. A compact studio works when everything has a home at arm's length and nothing has to be cleared away before dinner.
Safety basics worth building in
Most mosaic injuries are small — a cut finger, a shard in a sock, grout water in the eye — and protecting against them is cheap. Safety glasses go on whenever you cut, nip or scrape. Cut-resistant gloves help with smalti and salvaged glass, which have edges like broken bottles; nitrile gloves suit cement-based products, which dry out skin. Keep tweezers and a small first-aid kit within reach, plus a brush and dustpan kept specifically for chips rather than borrowed from the kitchen.
Two more things. Keep water well away from sockets and extension leads, and if you're unsure about the wiring near your work area, have a qualified electrician check it before you install a wet cutting station. And keep the space out of reach of children and pets; glass shards travel further than anyone expects.
A short checklist before your first cut
- Table stable, covered, and at the right height for sitting or standing.
- Task lamp positioned to rake light across the work.
- Window open, fan extracting outward, cutting area near the window.
- Safety glasses, gloves, dust mask, tweezers and first-aid kit on hand.
- Lidded bin for offcuts and a damp cloth for wiping down.
- Current colours in a tray; reserves sorted and labelled.
- Adhesives sealed, dated, and stored off the floor.
Do that once, properly, and the studio stops being a project of its own. You'll walk in, sit down, and start laying tesserae within a minute — which is the whole point of a small home setup.
Photo: Karyme França / Pexels